Category: Cleaning

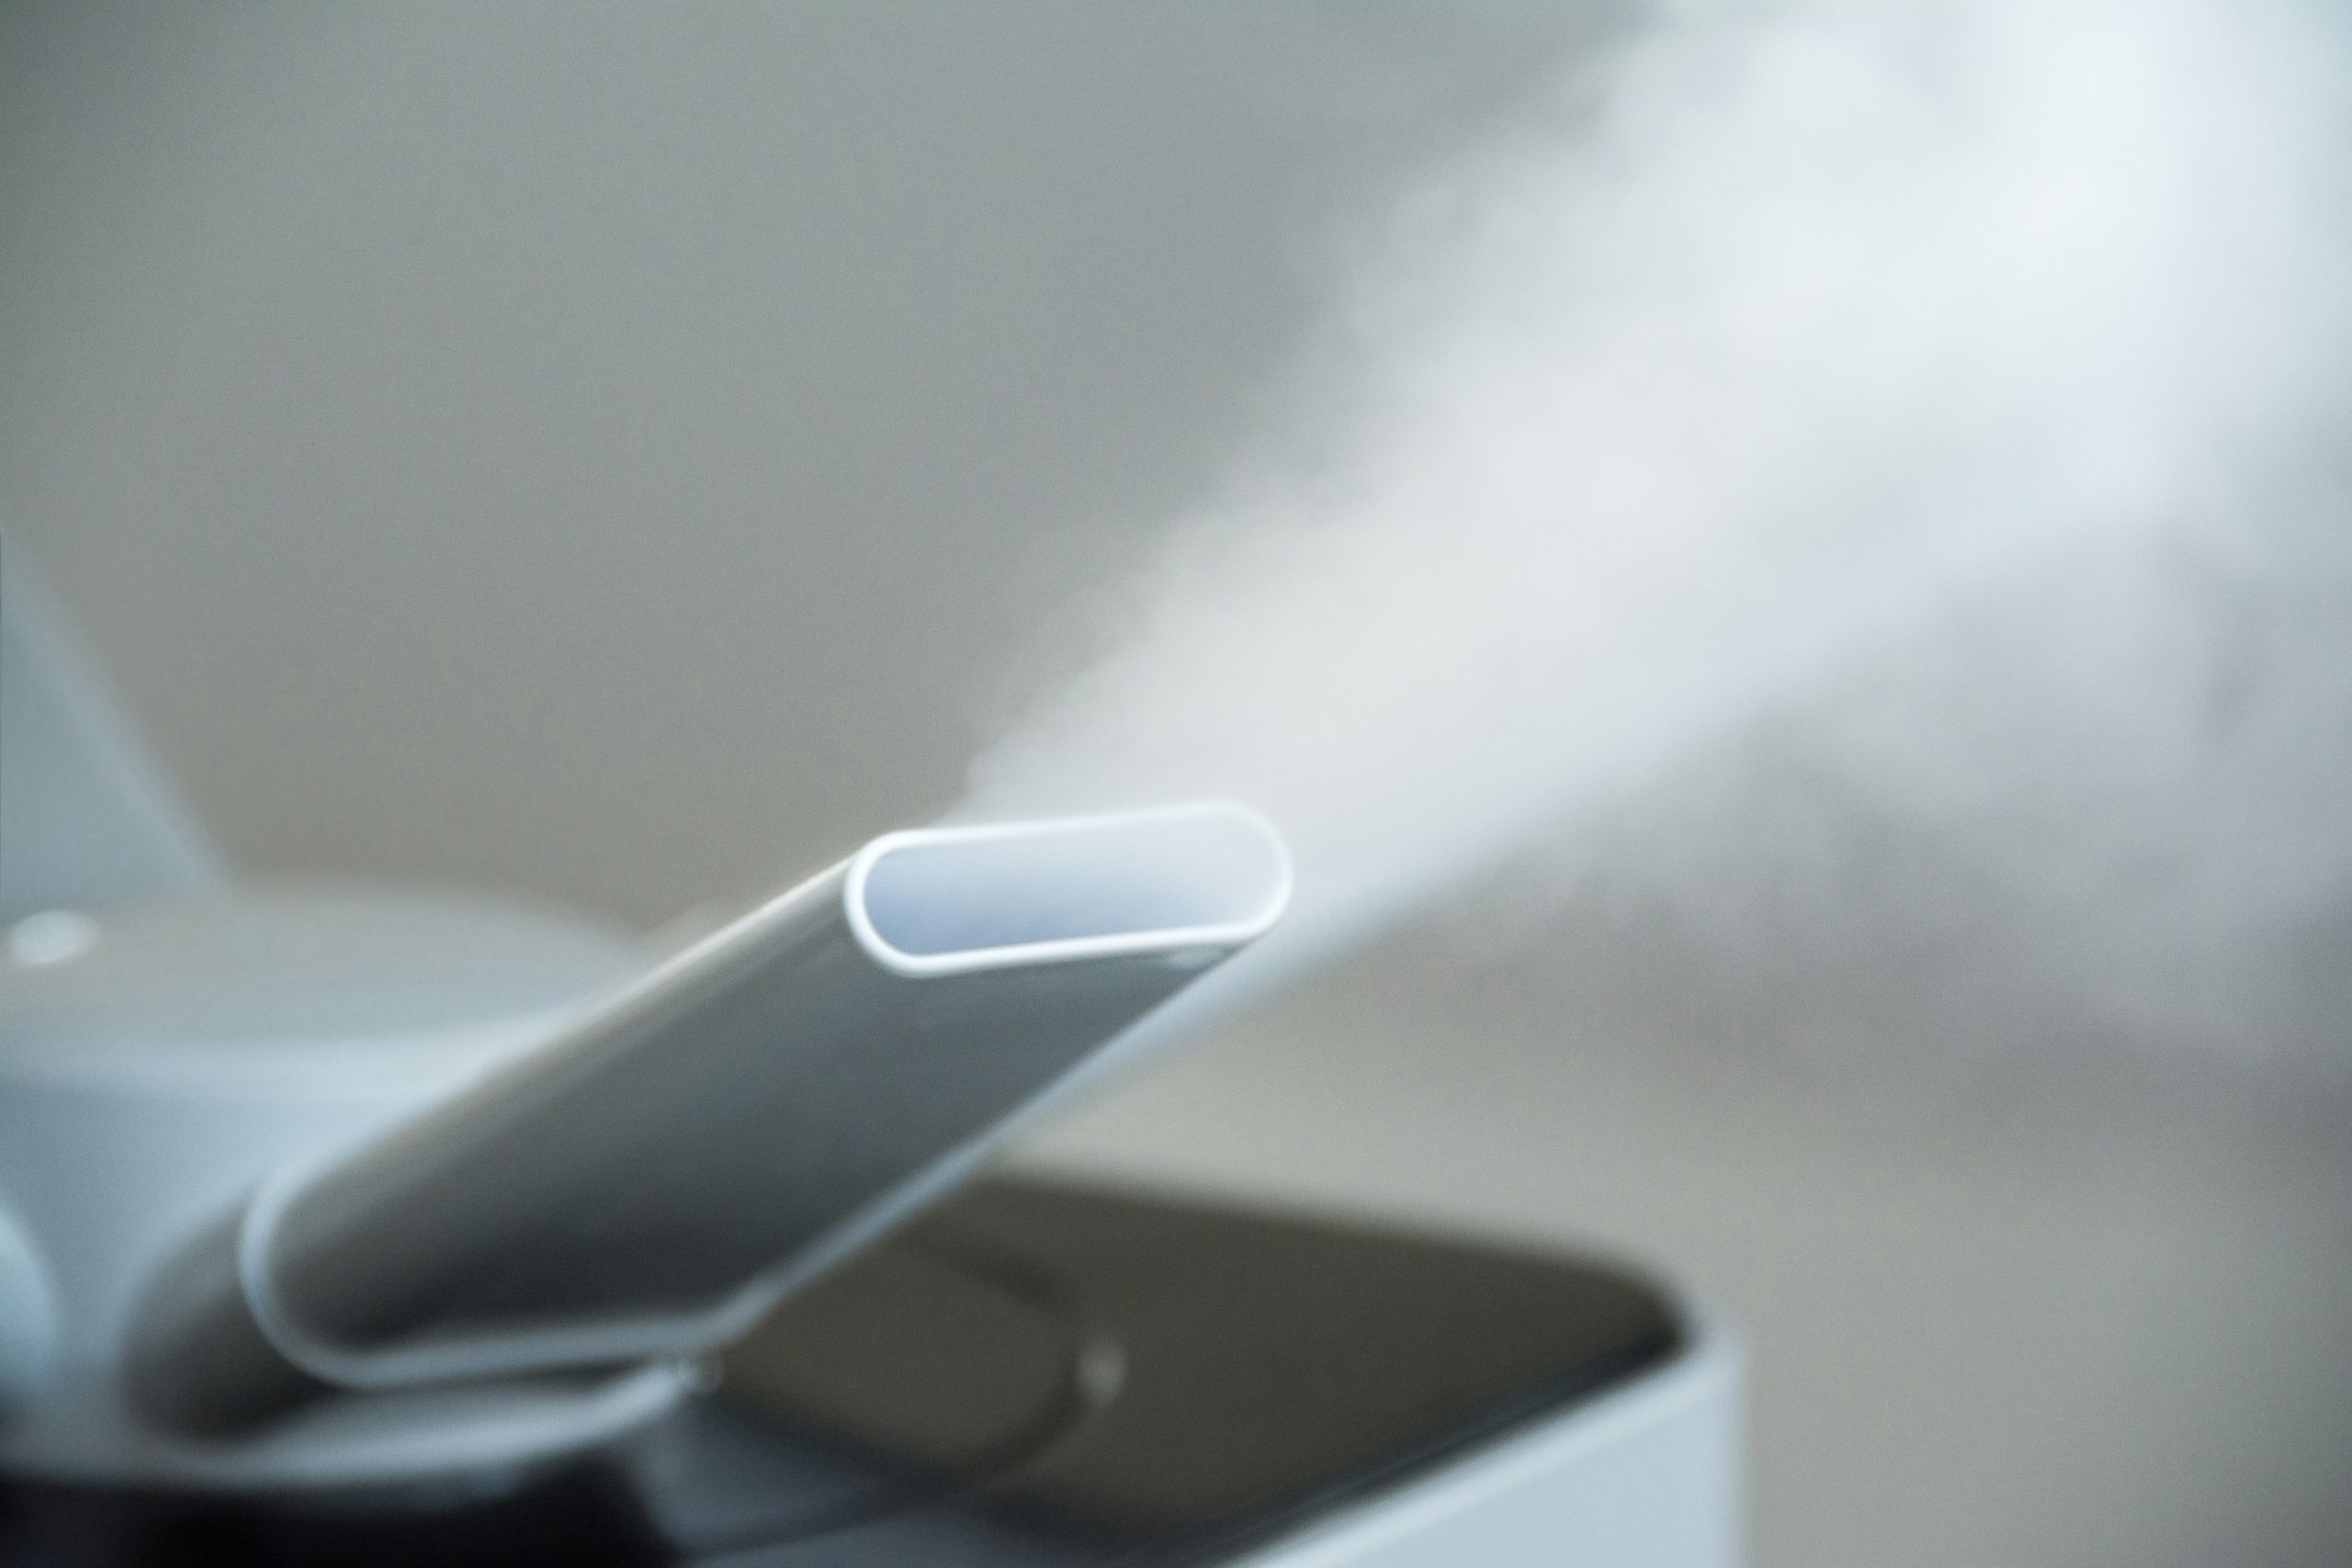
  • How to Use a Steam Cleaner: A Beginner’s Step-by-Step Guide

    How to Use a Steam Cleaner: A Beginner’s Step-by-Step Guide

    A steam cleaner can be one of the most useful tools in your cleaning routine. It can help loosen stubborn dirt, grease, soap residue, and grime using nothing more than heated water.

    But if you’ve never used one before, it’s easy to make things more complicated than they need to be.

    Which attachment should you use? How much steam is enough? Can you use it on every surface?

    The answer to that last question is especially important: no.

    Steam is useful, but heat and moisture aren’t suitable for every material. That’s why knowing how to use your machine properly—and knowing when not to use it—is just as important as the cleaning itself.

    Here’s a straightforward guide to getting started.

    What Is a Steam Cleaner?

    A steam cleaner is a cleaning machine that heats water and turns it into steam. The steam is then directed through an attachment onto the surface you’re cleaning.

    The heat and moisture help loosen dirt and buildup, making it easier to wipe away.

    Steam cleaners come in several forms. Handheld models are convenient for smaller jobs, while canister steam cleaners usually offer more attachments and flexibility. Steam mops are designed primarily for suitable floor surfaces.

    You don’t necessarily need the most powerful machine. The right cleaner depends on what you plan to use it for.

    What You Should Do Before Steam Cleaning

    Good steam cleaning starts before you turn the machine on.

    First, remove loose dirt from the area. Vacuum carpets and upholstery, or sweep and wipe hard surfaces. There’s little point in using steam to deal with dust, crumbs, and hair that could have been removed beforehand.

    Next, check two things:

    1. Your steam cleaner’s instructions.
    2. The manufacturer’s care instructions for the surface you’re cleaning.

    This second step is easy to overlook. A surface might look perfectly suitable for steam but still be vulnerable to heat or moisture.

    It’s also a good idea to keep a few clean microfiber cloths nearby. Steam loosens dirt, but you’ll often need to wipe that dirt away afterward.

    How to Use a Steam Cleaner Step by Step

    1. Fill the Water Tank

    Fill the tank according to your machine’s instructions.

    Some steam cleaners recommend distilled water, while others are designed to work with tap water. Follow the instructions for your specific model.

    Don’t add cleaning chemicals unless the manufacturer specifically says they’re safe to use.

    2. Choose the Right Attachment

    The attachment you use should match the job.

    A small brush can be useful for grout and stubborn buildup. A wider head is better suited to larger surfaces, while an upholstery attachment may be designed for suitable fabrics.

    Don’t assume that the most powerful attachment is automatically the best one. Using the right tool makes the job easier and gives you more control.

    3. Allow the Cleaner to Heat Up

    Turn the machine on and wait until it reaches its operating temperature.

    Heating times vary between models, so use the instructions that came with your cleaner rather than relying on a specific number of minutes.

    4. Test the Surface

    Before cleaning a large or visible area, test a small, inconspicuous section if the material is approved for steam cleaning.

    Let the area dry and check for changes in color, texture, or finish.

    If the manufacturer’s instructions say the surface shouldn’t be steam cleaned, don’t use steam on it at all.

    5. Start With a Small Section

    Work on one section at a time.

    Move the steam cleaner steadily across the surface rather than keeping it in one place. Prolonged exposure to heat and moisture can damage certain materials.

    If an area is particularly dirty, make another pass instead of holding the steam over it for a long time.

    6. Wipe Away the Dirt

    This is where a microfiber cloth becomes useful.

    Steam helps loosen the dirt, but you still need to remove that dirt from the surface. Wipe the area as you go, replacing the cloth when it becomes dirty.

    Otherwise, you can end up spreading loosened grime around instead of actually removing it.

    7. Let Everything Dry

    Once you’re finished, give the surface enough time to dry.

    This is especially important with fabrics, upholstery, carpets, and mattresses, which can hold moisture for much longer than hard surfaces.

    Good ventilation can help, but don’t rush this part. A surface that looks dry on top may still be damp underneath.

    What Can You Clean With a Steam Cleaner?

    Steam cleaners can be useful for a wide range of household cleaning jobs, but suitability depends on the material and the manufacturer’s instructions.

    Tile and Grout

    Tile and grout are among the more common applications for steam cleaners.

    A smaller brush attachment can help loosen buildup from grout lines, corners, and other difficult areas.

    After steaming, wipe away the loosened dirt rather than leaving it on the surface.

    Bathroom Surfaces

    Steam can be useful around compatible bathroom surfaces such as tile, shower areas, sinks, and bathtubs.

    It’s particularly handy for areas where soap residue and grime accumulate.

    Be careful around electrical components and areas where water could enter.

    Kitchen Surfaces

    Depending on the material, steam can help loosen grease and food residue from some kitchen surfaces.

    However, avoid directing steam into electrical controls, outlets, vents, or other areas that aren’t designed to handle moisture.

    Floors

    This is where you need to be particularly careful.

    Some sealed flooring products are designed to tolerate steam, while others aren’t. Certain hardwood, laminate, vinyl, and other floors can be damaged by heat or moisture.

    Always check the flooring manufacturer’s instructions before using a steam mop or steam cleaner.

    Upholstery

    Some machines include attachments designed for suitable upholstery and fabrics.

    However, fabrics vary considerably. Always check the care label and manufacturer’s recommendations before using steam.

    If you’re looking for a more specific cleaning method, a dedicated guide such as how to steam clean a mattress can be useful—but the mattress manufacturer’s care instructions should always come first.

    What Should You Not Steam Clean?

    One of the biggest mistakes beginners make is assuming that because steam is effective, it must be safe everywhere.

    It isn’t.

    Be particularly cautious with:

    • Unsealed wood
    • Some hardwood and laminate floors
    • Delicate fabrics
    • Suede
    • Some leather
    • Certain painted surfaces
    • Some porous materials
    • Electronics
    • Materials held together with heat-sensitive adhesives

    When you’re uncertain, check the manufacturer’s instructions before doing anything.

    It’s better to spend two minutes checking than to discover that the heat or moisture has damaged the material.

    Common Steam Cleaning Mistakes

    Using Too Much Steam

    More steam doesn’t automatically mean better cleaning.

    Excess heat and moisture can make some surfaces harder to dry and may cause damage.

    Skipping Vacuuming or Sweeping

    Steam isn’t designed to replace basic cleaning.

    Removing loose dirt first makes the rest of the process much easier.

    Holding the Cleaner in One Place

    Keep the cleaner moving. If something doesn’t come clean immediately, another controlled pass is usually better than concentrating steam on one spot.

    Forgetting to Wipe

    Don’t assume that the steam has removed the dirt simply because you can no longer see it.

    Wipe away loosened grime as you work.

    Ignoring the Manufacturer’s Instructions

    This is the most important rule.

    Your steam cleaner’s manual tells you how to operate the machine safely.

    The surface manufacturer’s instructions tell you whether that material can handle steam.

    You need both.

    How to Get Better Results

    Once you’ve used your steam cleaner a few times, you’ll get a better feel for how it behaves. Until then, keep things simple:

    • Remove loose dirt first.
    • Use the correct attachment.
    • Start cautiously on unfamiliar surfaces.
    • Keep the cleaner moving.
    • Work in manageable sections.
    • Wipe away loosened dirt.
    • Avoid excessive moisture.
    • Allow surfaces to dry completely.
    • Follow the manufacturer’s instructions.

    Frequently Asked Questions

    Do you put anything besides water in a steam cleaner?

    Usually, you should only use what the manufacturer recommends. Many machines are designed to use water alone. Adding cleaning products without checking the instructions can damage the machine.

    How long should you steam one area?

    There isn’t one correct amount of time for every surface. Keep the cleaner moving and follow the technique recommended for your machine.

    If dirt remains, make another short pass rather than holding the steam over the same area for an extended period.

    Can you use a steam cleaner on a mattress?

    Some mattresses can be cleaned with steam, but you should check the manufacturer’s care instructions first.

    If steam cleaning is permitted, avoid saturating the mattress and make sure it has completely dried before using it again.

    Should you vacuum before or after steam cleaning?

    In most situations, vacuuming first is the better approach. It removes loose dust, hair, and debris before you introduce moisture.

    Can you steam clean every floor?

    No. Some flooring manufacturers specifically advise against steam cleaning.

    Always check the manufacturer’s instructions for your particular floor before using steam.

    Final Thoughts

    Using a steam cleaner isn’t complicated once you understand the basics.

    Prepare the surface, use the appropriate attachment, work in small sections, and keep the machine moving. Most importantly, don’t assume that every material can handle steam.

    The best steam cleaning results don’t come from using the most heat or the most water. They come from using the right amount of steam on the right surface.

    Once you get comfortable with the process, a steam cleaner can become a genuinely useful part of your regular cleaning routine.
  • How to Clean Yellowed Plastic and Restore Its Appearance

    How to Clean Yellowed Plastic and Restore Its Appearance

    The Problem with Aging White Plastics

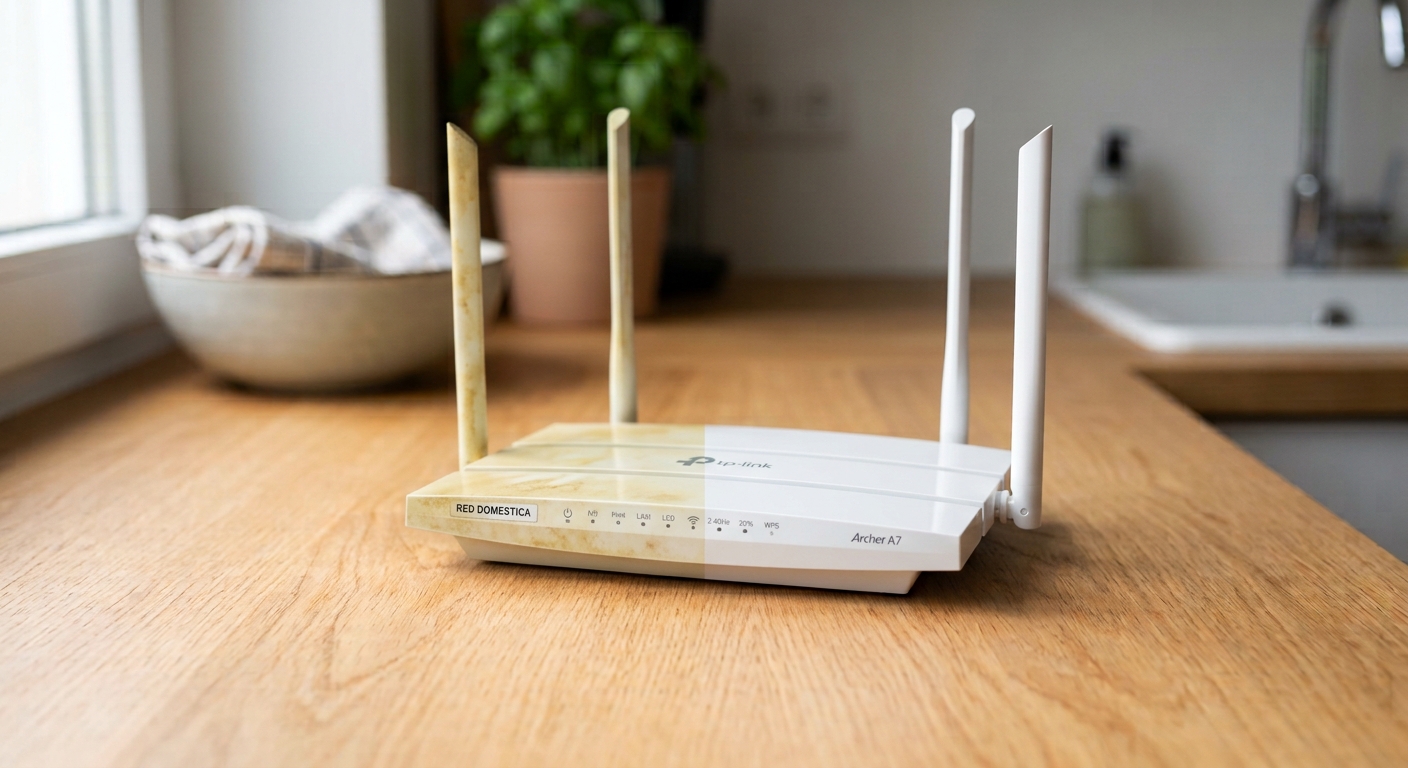
    White plastic can look clean when it is new, but over time it may develop a yellow, cream, or slightly brown appearance. This is especially common on older appliances, storage containers, electronics, switches, and other household items.

    The good news is that yellowed plastic is not always permanently damaged. In some cases, the discoloration is caused by dirt, grease, or surface stains that can be removed with ordinary cleaning. In other cases, the plastic itself has changed color because of age, sunlight, heat, or chemical reactions.

    This guide explains how to identify the cause of the discoloration and how to clean yellowed plastic using progressively stronger methods.

    Why Plastic Turns Yellow Over Time

    Plastic can become yellow for several different reasons.

    Common causes include:

    • Age: Some plastics naturally change color as they get older.
    • UV exposure: Sunlight can contribute to chemical changes in certain plastics.
    • Heat: Long-term exposure to heat can accelerate discoloration.
    • Smoke and grease: Kitchen smoke, cigarette smoke, and oily residue can leave a yellow film on plastic.
    • Chemical aging: Some plastics contain additives that can change over time and contribute to yellowing.

    This distinction matters because dirty plastic and genuinely yellowed plastic require different approaches.

    If the yellow color disappears after normal cleaning, you are dealing mainly with surface dirt or residue. If the plastic remains yellow after thorough cleaning, the discoloration may be part of the material itself.

    Before You Start

    Before trying to whiten or restore yellowed plastic, check the following:

    1. Read the manufacturer’s cleaning instructions, especially if you are working with an appliance or electronic device.
    2. Test any cleaning method on a small, inconspicuous area first.
    3. If the item is electrical, unplug it before cleaning and keep liquids away from openings, switches, vents, and internal components.
    4. Avoid aggressive scrubbing that could scratch or dull the surface.
    5. Do not assume that a method that works on one type of plastic will work on another.

    If the plastic is painted, coated, transparent, or has a decorative finish, use extra caution. A treatment that improves the color of one plastic may damage another surface.

    Method 1: Clean the Plastic With Soap and Water

    Always start with the gentlest method.

    This is the best option when yellowing may actually be caused by grease, dust, smoke residue, or other surface dirt.

    What you need:

    • Warm water
    • A small amount of mild dish soap
    • A soft microfiber cloth or sponge
    • A clean towel

    Steps:

    1. Mix warm water with a small amount of mild dish soap.
    2. Dip the cloth or sponge into the solution and wring it out well.
    3. Gently wipe the plastic surface.
    4. Pay particular attention to corners, handles, grooves, and textured areas where dirt can accumulate.
    5. Wipe the surface again with a clean, damp cloth.
    6. Dry it thoroughly with a soft towel.

    Avoid soaking electrical components or allowing water to enter openings.

    Does it work?

    If the yellow appearance is caused by surface grime, this simple method may make a noticeable difference.

    If the plastic remains yellow after cleaning, the discoloration is more likely related to aging or chemical changes within the plastic.

    Method 2: Try a Gentle Baking Soda Paste

    For stubborn surface marks, baking soda can sometimes help because it provides mild abrasive action.

    What you need:

    • Baking soda
    • A small amount of water
    • A soft cloth or sponge

    Steps:

    1. Mix a small amount of baking soda with water to form a soft paste.
    2. Apply a small amount to the affected area.
    3. Gently rub the surface using light pressure.
    4. Do not scrub aggressively.
    5. Wipe away the residue with a damp cloth.
    6. Dry the plastic completely.

    Important note: Baking soda is not a chemical solution for plastic that has yellowed internally. It may help with surface dirt and staining, but it will not necessarily reverse age-related discoloration.

    It can also leave fine scratches on some glossy or delicate plastics, so always test it first.

    Method 3: Hydrogen Peroxide for Severely Yellowed Plastic

    If the plastic has been thoroughly cleaned but remains yellow, some restoration techniques use hydrogen peroxide to improve the appearance of certain aged plastics.

    This approach is sometimes associated with the restoration technique known as Retrobright.

    However, it is important to understand that hydrogen peroxide treatment is not the same as ordinary cleaning. It is a restoration process, and the result depends on the type, condition, and formulation of the plastic.

    For that reason, do not treat every yellow plastic surface with hydrogen peroxide automatically.

    Before using hydrogen peroxide

    Keep these points in mind:

    • Check the manufacturer’s instructions whenever possible.
    • Test a hidden area first.
    • Use a hydrogen peroxide product appropriate for the intended application and follow its label directions.
    • Wear appropriate protective equipment recommended by the product manufacturer.
    • Work in a well-ventilated area.
    • Protect nearby surfaces from accidental contact.
    • Keep the treatment away from children and pets.
    • Never apply liquids to a plugged-in electrical appliance.
    • Avoid using the method on painted, coated, transparent, or otherwise delicate surfaces unless you know the material is compatible.

    How the treatment works

    Hydrogen peroxide can participate in chemical reactions that alter some of the compounds responsible for discoloration in aged plastics. UV or other light exposure is sometimes used as part of restoration methods.

    The important word is some.

    Not every plastic responds in the same way, and a treatment that works well on one object may produce a different result on another.

    For this reason, a small test area is one of the most important steps.

    A safer approach: Rather than treating an entire appliance or valuable object immediately, start with a small, hidden section. Observe the result before proceeding. If you notice uneven color, surface changes, fading, or any unexpected reaction, stop the treatment.

    What About Sunlight?

    Sunlight is sometimes used in plastic-restoration techniques because UV light can interact with hydrogen peroxide.

    However, sunlight is not a universal whitening solution.

    Simply placing yellow plastic in direct sunlight may not restore its original color and can potentially contribute to further aging over time.

    If you are experimenting with a restoration method involving light, follow the instructions for the specific product or restoration process rather than assuming that more sunlight will produce better results.

    What Not to Use on Yellowed Plastic

    More aggressive cleaning is not always better.

    Avoid experimenting with strong chemicals or abrasive tools simply because the plastic looks difficult to clean.

    Be especially cautious with:

    • Strong solvents
    • Acetone
    • Abrasive scouring pads
    • Steel wool
    • Aggressive sanding
    • Unlabelled chemical mixtures
    • Products that are not intended for the type of plastic you are cleaning

    Some chemicals can soften plastic, damage its finish, remove printed markings, or make the surface cloudy.

    Never mix cleaning chemicals: Do not mix hydrogen peroxide with other household cleaning products unless the product manufacturer specifically instructs you to do so. In particular, avoid creating homemade chemical mixtures from multiple cleaners.

    When in doubt, use the simplest compatible cleaning method.

    Why Does Plastic Turn Yellow Again?

    Unfortunately, restoration is not always permanent.

    If the yellowing is caused by aging or chemical changes in the plastic, the discoloration may gradually return.

    To slow down future discoloration:

    • Keep plastic away from prolonged direct sunlight when possible.
    • Avoid unnecessary exposure to high temperatures.
    • Clean grease and smoke residue regularly.
    • Store light-colored plastic in a cool, dry location.
    • Follow the manufacturer’s recommended cleaning methods.

    Prevention is often easier than trying to restore severely discolored plastic later.

    How to Tell Whether Plastic Can Be Restored

    Not every yellow plastic item should be treated.

    A good candidate for restoration is usually:

    • Made from a compatible plastic material
    • Free from delicate coatings or paint
    • Structurally sound
    • Valuable enough to justify careful restoration
    • Suitable for the cleaning products being considered

    You may want to leave the item alone if it is:

    • Cracked or brittle
    • Painted or coated
    • Transparent or translucent
    • Electrically sensitive
    • A valuable collectible where an irreversible treatment could reduce its value

    For valuable or collectible items, consider consulting a specialist before attempting restoration.

    Frequently Asked Questions

    Can You Remove Yellow Stains From Plastic?

    Yes, if the discoloration is caused by surface dirt, grease, or staining. Start with mild soap and water. If necessary, try a gentle cleaning paste on a small area. If the plastic itself has aged and changed color, ordinary cleaning may not be enough. In that case, restoration methods may improve its appearance, but the result will depend on the material.

    Can Baking Soda Whiten Yellow Plastic?

    Baking soda can help remove some surface stains and grime, but it is not a guaranteed solution for plastic that has yellowed because of aging or UV exposure. Use it gently and test it first, particularly on glossy plastic.

    Does Vinegar Remove Yellowing From Plastic?

    Vinegar may help with certain mineral deposits or surface residues, but it should not be considered a universal treatment for age-related plastic yellowing. If the plastic remains yellow after normal cleaning, the discoloration may be within the material rather than on its surface.

    Can Hydrogen Peroxide Damage Plastic?

    Yes, it can, depending on the plastic, its condition, the concentration used, and how the treatment is performed. That is why testing a small hidden area and following the product’s instructions are important. Hydrogen peroxide should be considered a restoration treatment rather than a routine household cleaner for plastic.

    Can You Whiten Yellowed Plastic Back to Its Original Color?

    Sometimes you can significantly improve its appearance, but there is no guarantee that an old plastic item will return to its original color. The result depends on the type of plastic, the cause of the yellowing, the age and condition of the item, previous exposure to sunlight and heat, and the restoration method used. A realistic goal is to improve the appearance, rather than assuming that every yellowed item can be restored perfectly.

    Final Thoughts

    Before trying an aggressive treatment, find out whether the plastic is actually dirty or whether it has yellowed because of age and environmental exposure. Start with mild soap and water. If necessary, move to a gentle stain-removal method. Only consider a stronger restoration technique when you understand the material and have tested the method on a small area.

    Hydrogen peroxide-based restoration can improve the appearance of some yellowed plastics, but it is not a one-size-fits-all solution. Careful testing, appropriate precautions, and realistic expectations are the keys to getting a good result without damaging the item.

    With the right approach, many yellowed plastic surfaces can look noticeably cleaner and brighter without resorting to unnecessarily aggressive cleaning.

  • How to Clean Makeup Brushes: A Complete Step-by-Step Guide

    How to Clean Makeup Brushes: A Complete Step-by-Step Guide

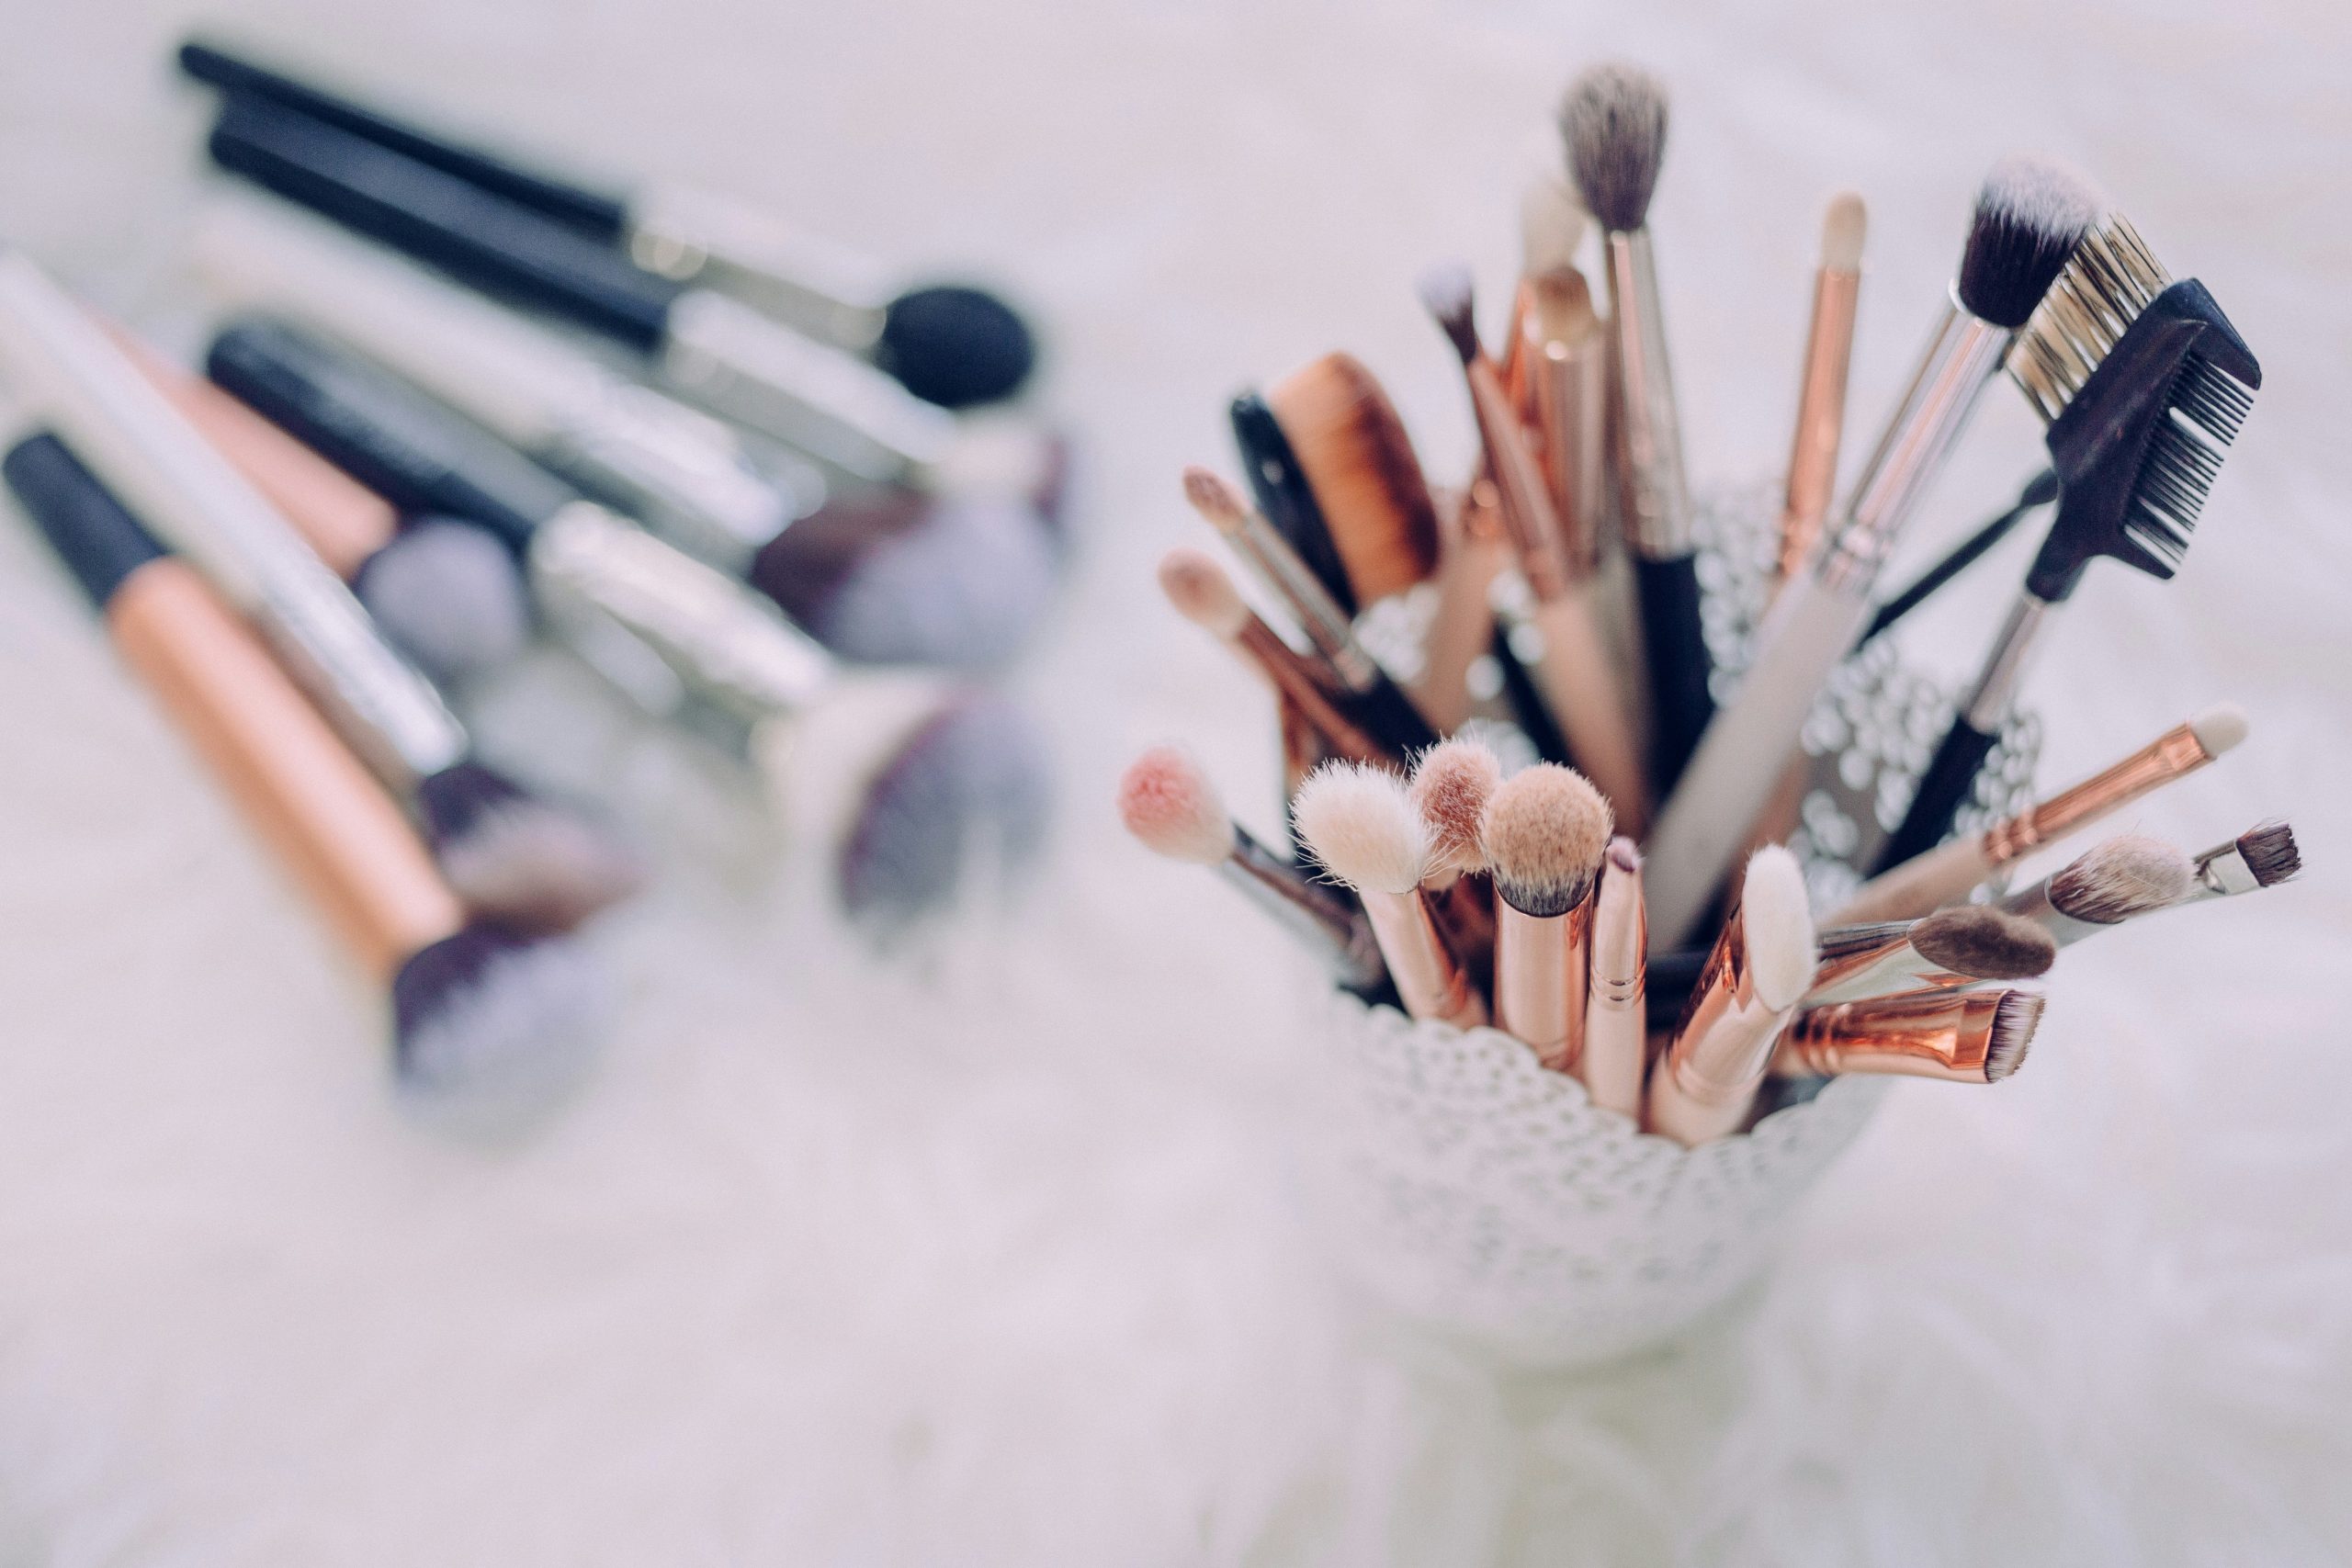
    Makeup brushes collect more than just makeup. Over time, they can build up with oils, skincare products, dust, and other residue. Cleaning them regularly helps keep them fresh and in good condition while making your makeup application smoother.

    The good news? You don’t need expensive products or complicated equipment. With a few simple steps, you can clean most makeup brushes at home.

    Why Should You Clean Your Makeup Brushes?

    Every time you use a makeup brush, it can pick up makeup residue, natural oils, dust, and other buildup. If you leave that buildup on the bristles, the brush can become difficult to use and may not apply makeup evenly.

    Regular cleaning also helps protect the bristles and extend the useful life of your brushes.

    How Often Should You Clean Makeup Brushes?

    How often you should clean a brush depends on how frequently you use it and what you use it for.

    As a general guide:

    • Foundation and concealer brushes: Clean about once a week.
    • Eye makeup brushes: Clean weekly, especially if you use them frequently.
    • Powder and blush brushes: Clean every 1–2 weeks.
    • Brushes used with cream or liquid products: Clean more frequently because they tend to hold more product.

    If a brush looks visibly dirty, feels stiff, or has a noticeable buildup of product, it’s probably time to wash it.

    What You’ll Need

    You don’t need a special brush-cleaning kit. Gather:

    • Lukewarm water
    • A small amount of gentle soap or mild shampoo
    • A clean towel
    • A clean, dry surface for drying

    Avoid using very hot water because excessive heat can affect the glue that holds the bristles together.

    How to Clean Makeup Brushes Step by Step

    1. Wet the Bristles

    Hold the brush with the bristles pointing downward and rinse them under lukewarm water.

    Try not to soak the entire brush. Keeping water away from the handle and ferrule can help prevent moisture from reaching the inside of the brush.

    2. Add a Small Amount of Soap

    Put a small amount of gentle soap or mild shampoo in the palm of your hand.

    You can also use a clean silicone brush-cleaning mat if you have one, but it isn’t necessary.

    3. Gently Work the Soap Into the Bristles

    Move the brush in small circular motions against your palm.

    Work the soap through the bristles gently until you start to see makeup residue being released.

    There’s no need to scrub aggressively. Rough handling can damage delicate bristles.

    4. Rinse Thoroughly

    Rinse the brush under lukewarm running water until the water runs clear and there is no visible soap or makeup residue.

    Keep the brush pointing downward while rinsing.

    5. Remove Excess Water

    Gently squeeze the bristles with your fingers or use a clean towel to remove excess water.

    Don’t twist or pull the bristles.

    6. Reshape the Brush

    Use your fingers to gently reshape the bristles so the brush returns to its original shape.

    This helps it dry properly and keeps the bristles from becoming misshapen.

    7. Let the Brushes Dry Completely

    Place the brushes on a clean, dry towel and allow them to air-dry completely.

    Ideally, position the handles so the bristles extend slightly over the edge of a counter or table. This allows air to circulate around them.

    Avoid storing or using the brushes while they’re still damp.

    How to Clean Makeup Brushes Without Brush Cleaner

    You don’t necessarily need a specialized makeup brush cleaner.

    For many everyday brushes, lukewarm water combined with a small amount of gentle soap or mild shampoo can be enough to remove ordinary makeup buildup.

    The important thing is to rinse thoroughly and allow the brushes to dry completely afterward.

    How to Deep Clean Makeup Brushes

    If a brush has heavy product buildup, you may need to repeat the cleaning process.

    Start by rinsing the bristles with lukewarm water, then work a small amount of gentle soap through the bristles. Rinse thoroughly and repeat if necessary.

    Don’t use harsh household cleaners or strong chemicals on makeup brushes.

    How to Dry Makeup Brushes Properly

    Drying is just as important as washing.

    After cleaning:

    1. Remove excess water with a clean towel.
    2. Reshape the bristles.
    3. Lay the brushes on a clean towel.
    4. Keep the bristles exposed to air.
    5. Wait until they’re completely dry before storing them.

    Avoid placing wet brushes upright with the bristles pointing upward. Water can move toward the base of the bristles and potentially weaken the adhesive.

    Common Mistakes to Avoid

    Using Very Hot Water

    Hot water can damage some brush materials and may affect the adhesive holding the brush together.

    Soaking the Entire Brush

    Try to keep water concentrated on the bristles rather than soaking the handle and ferrule.

    Scrubbing Too Hard

    Makeup brushes can have delicate bristles. Gentle cleaning is usually enough.

    Putting Brushes Away While Wet

    Damp brushes can take a long time to dry when stored in an enclosed space. Let them dry completely first.

    Using Harsh Chemicals

    Household cleaning products aren’t designed for makeup brushes. Stick with a gentle cleaning product suitable for the brush.

    How to Keep Makeup Brushes Cleaner for Longer

    A few simple habits can make your brushes easier to maintain:

    • Don’t overload brushes with product.
    • Store clean brushes in a dry place.
    • Avoid sharing personal makeup brushes.
    • Clean brushes regularly instead of waiting for heavy buildup.
    • Give brushes enough time to dry completely after washing.

    Frequently Asked Questions

    Can I use shampoo to clean makeup brushes?

    Yes. A small amount of mild shampoo can work for removing ordinary makeup residue. Rinse the brush thoroughly afterward.

    How long do makeup brushes take to dry?

    Drying time varies depending on the brush size, material, and room conditions. Allow them to air-dry completely before using or storing them.

    Can I use dish soap to clean makeup brushes?

    A mild dish soap may remove heavy product buildup, but it can be drying or harsh for some brush materials. A gentle cleanser is generally a safer everyday choice.

    Should I wash makeup brushes after every use?

    Not necessarily. Brushes used with liquid or cream products may benefit from more frequent cleaning, while powder brushes can generally be cleaned less often.

    Final Thoughts

    Learning how to clean makeup brushes doesn’t have to be complicated. Lukewarm water, a gentle cleanser, and proper drying are usually all you need for regular maintenance.

    Make brush cleaning part of your normal routine, and you’ll spend less time dealing with heavy buildup while keeping your brushes fresh and ready for your next makeup application.

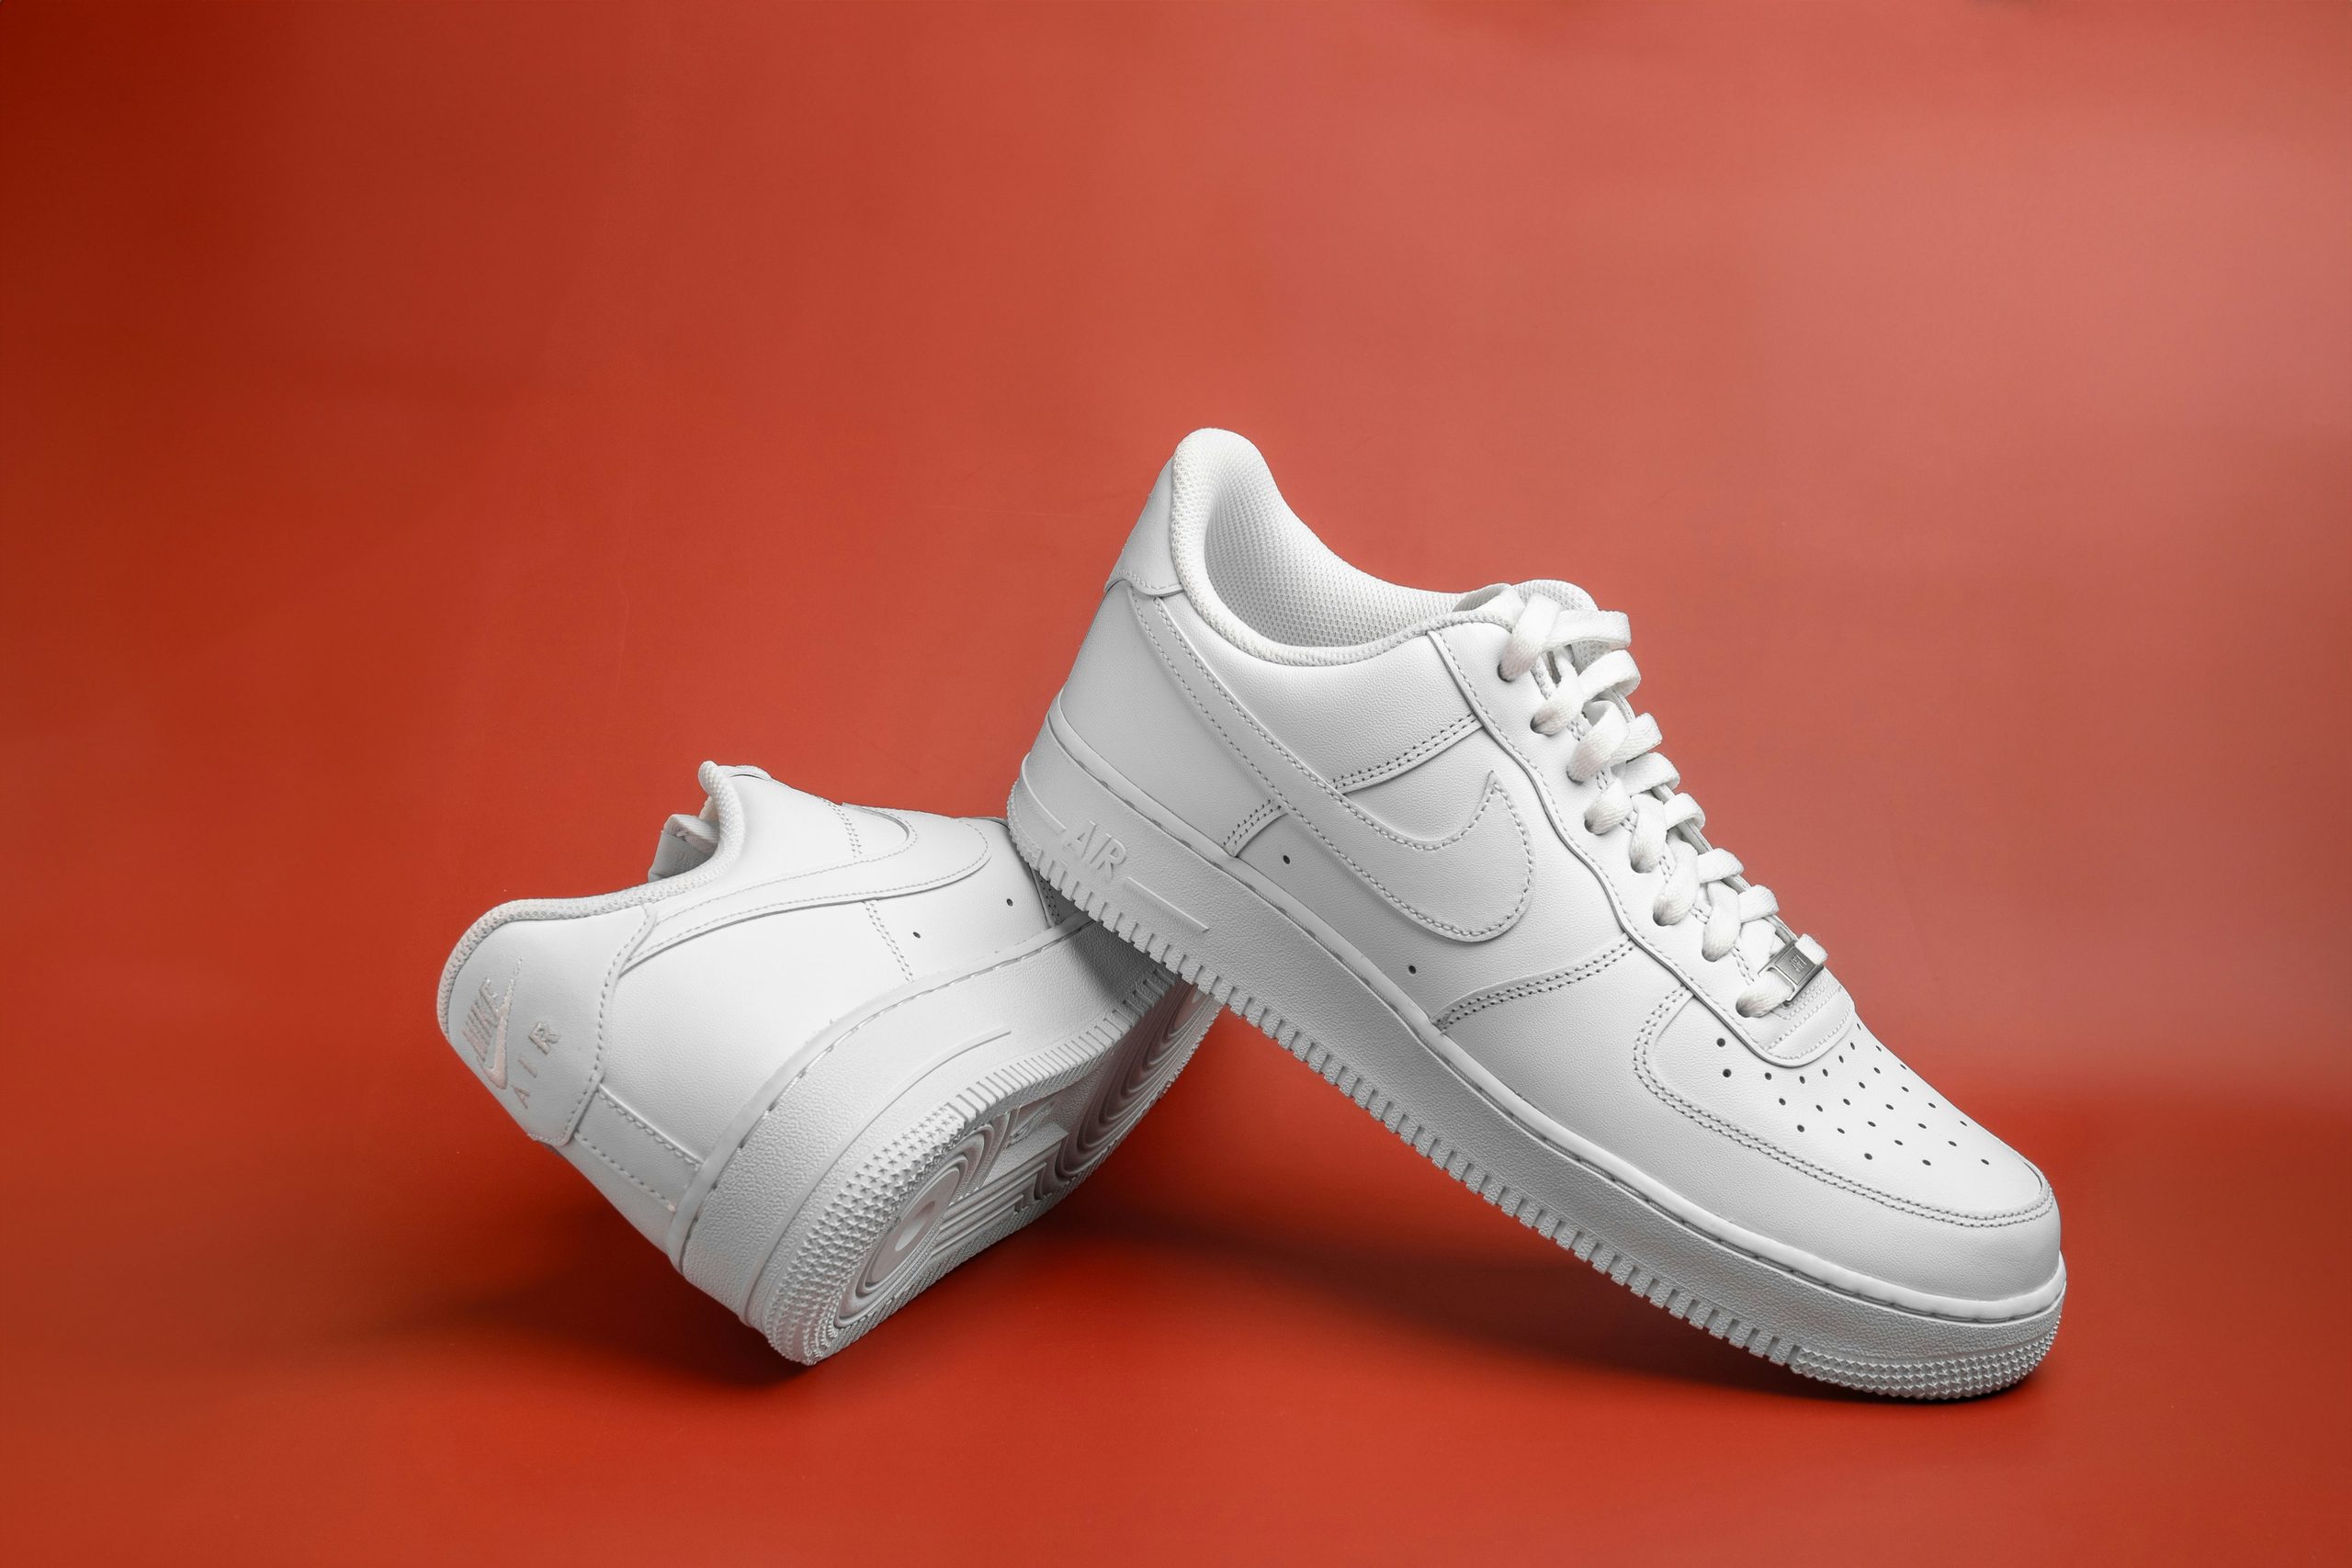
  • How to Clean White Shoes: A Complete Step-by-Step Guide

    How to Clean White Shoes: A Complete Step-by-Step Guide

    White shoes look great when they’re clean, but they also have a way of showing every little mark, scuff, and stain. The good news is that you usually don’t need expensive products or complicated techniques to bring them back to a cleaner, brighter appearance.

    The most important thing to remember is that the best way to clean white shoes depends on what they’re made of. Canvas, leather, mesh, and suede all require slightly different approaches.

    In this guide, we’ll show you how to clean white shoes step by step, how to clean different materials, how to deal with dirty soles and laces, and how to avoid common mistakes that can damage your shoes.

    What You’ll Need

    Before you start, gather a few basic supplies:

    • A soft-bristled brush or old toothbrush
    • A clean microfiber cloth
    • Mild dish soap or a mild detergent
    • A small bowl
    • Warm or cool water
    • Clean paper towels
    • Baking soda, if appropriate for your shoe material
    • A suede brush and suede eraser for suede shoes

    You don’t necessarily need every item on this list. The materials you need will depend on the type of shoe you’re cleaning.

    Before You Start: Check the Material

    Before putting any water or cleaning solution on your shoes, check what they’re made of.

    Look at the manufacturer’s care instructions if they’re available. If you’re unsure about a cleaning product, test it on a small, hidden area first.

    Canvas

    Canvas is generally durable and can usually handle gentle scrubbing with a mild cleaning solution.

    Leather

    Leather should not be soaked. Use a small amount of water and a gentle cleaner, preferably one designed for leather.

    Mesh

    Mesh can be delicate. Use a soft brush or cloth and avoid aggressive scrubbing, which can damage the fibers.

    Suede

    Suede needs special care and should generally be cleaned with dry methods and products designed specifically for suede.

    How to Clean White Shoes Step by Step

    For many canvas, synthetic, and mesh shoes, you can start with this basic cleaning process.

    1. Remove the Laces and Insoles

    Take the laces out of your shoes before cleaning them.

    If the insoles can be removed safely, take those out too. Cleaning these parts separately makes it easier to reach the entire shoe.

    Set the laces and insoles aside while you clean the main part of the shoe.

    2. Remove Loose Dirt

    If your shoes have mud on them, allow the mud to dry before trying to remove it.

    Use a soft-bristled brush to gently remove loose dirt and dust from the upper and soles.

    Starting with a dry brush helps prevent dirt from turning into a muddy mess when you add water.

    3. Make a Mild Cleaning Solution

    Add a small amount of mild dish soap to a bowl of water.

    You don’t need a highly concentrated mixture. A gentle solution is usually enough for everyday dirt.

    Avoid using strong cleaning chemicals unless the manufacturer specifically recommends them for your shoes.

    4. Clean the Shoes Gently

    Dip a soft brush or microfiber cloth into the cleaning solution.

    Work on the shoe in small sections using gentle circular motions. Pay extra attention to visibly dirty areas, but avoid applying excessive pressure.

    For mesh, use an especially light touch because the fibers can be more delicate.

    5. Wipe Away the Cleaning Solution

    Once you’ve cleaned the surface, use a clean, damp microfiber cloth to remove remaining soap and dirt.

    Rinse the cloth regularly with clean water so that you don’t simply spread dirt around the shoe.

    6. Clean the Soles

    The rubber soles often collect some of the toughest dirt.

    Use a soft or medium-bristled brush with your mild cleaning solution and work around the edges and grooves of the sole.

    For stubborn marks on rubber, a slightly damp melamine sponge can sometimes help. Use it gently and only on suitable surfaces because it works by light abrasion.

    7. Let the Shoes Air Dry

    After cleaning, remove as much excess moisture as possible with a clean towel.

    Stuff the shoes loosely with white paper towels if you want to help them maintain their shape and absorb moisture.

    Then let them air dry at room temperature.

    Keep them away from radiators, hair dryers, and other direct heat sources. Excessive heat can damage some materials and adhesives.

    How to Clean White Canvas Shoes

    Canvas is one of the more forgiving materials, but it can absorb dirt and stains.

    Start by removing loose dirt with a dry brush.

    Then make a mild mixture of water and dish soap. Apply the solution with a soft brush and gently work over the stained areas.

    For more persistent marks, you can use a small amount of baking soda mixed with water to create a paste. Test it on a less visible area first, then apply it gently to the stain.

    After cleaning, wipe away the residue with a damp microfiber cloth and allow the shoes to air dry completely.

    Always check the manufacturer’s care instructions before putting canvas shoes in a washing machine. Some shoes may be machine washable, while others can be damaged by the washing process.

    How to Clean White Leather Shoes

    White leather needs a gentler approach.

    First, remove loose dirt with a soft, dry cloth or brush.

    Then mix a small amount of mild soap with water. Dampen a microfiber cloth rather than soaking the shoe.

    Gently wipe the leather in small sections.

    After cleaning, use another clean, slightly damp cloth to remove any remaining soap.

    Allow the shoes to dry naturally at room temperature.

    Once completely dry, you can use a leather conditioner if the manufacturer recommends one for your particular shoes.

    Avoid soaking leather shoes or aggressively scrubbing the surface. Too much moisture or friction can damage the finish.

    How to Clean White Mesh Shoes

    Mesh shoes need a lighter touch than many canvas shoes.

    Start by removing the laces and brushing away loose dirt with a soft-bristled brush.

    Mix warm water with a small amount of mild dish soap.

    Dip a microfiber cloth or very soft brush into the solution and gently clean the mesh.

    Avoid pressing hard or scrubbing aggressively. Excessive friction can stretch, fray, or damage the mesh.

    When you’re finished, wipe the shoes with a clean, damp cloth to remove soap residue.

    Allow them to air dry away from direct heat and sunlight.

    How to Clean White Suede Shoes

    Suede is different from canvas, leather, and mesh.

    Don’t use the same wet-cleaning method described above on suede.

    Make sure the shoes are completely dry before cleaning them. Then use a suede brush to gently remove surface dirt and restore the texture.

    For small scuff marks, a suede eraser can help. Rub gently and avoid excessive pressure.

    For difficult stains, follow the care instructions provided by the shoe manufacturer or use a cleaner specifically designed for suede.

    If you’re unsure how a product will react, test it on a hidden area first.

    How to Clean White Shoelaces

    Cleaning the laces separately can make a surprisingly big difference.

    Remove the laces and shake or brush off loose dirt.

    Place them in a bowl of warm water with a small amount of mild detergent. Let them soak for a short period, then gently rub the fabric together to loosen dirt.

    Rinse thoroughly with clean water and allow the laces to air dry completely before putting them back into your shoes.

    If the laces are particularly dirty, repeat the process rather than immediately reaching for a harsh chemical.

    How to Clean White Shoe Soles

    The rubber parts of white shoes can often be cleaned separately from the upper.

    Use a damp brush and mild soap to work into the grooves of the sole.

    For small scuff marks on suitable rubber surfaces, a damp melamine sponge can help remove surface marks. Use gentle pressure because melamine sponges are mildly abrasive.

    Once finished, wipe the sole with a clean damp cloth.

    How to Remove Stubborn Stains From White Shoes

    Some stains require more patience than a simple soap-and-water cleaning.

    The safest approach is to first identify the shoe material and the type of stain.

    For fabric shoes, a small amount of baking soda mixed with water can sometimes help with surface stains. Always test the mixture first.

    For leather, use a cleaner appropriate for leather rather than applying household mixtures indiscriminately.

    For suede, stick to suede-specific cleaning methods.

    If a stain doesn’t come out after one gentle treatment, it’s usually better to repeat the process than to aggressively scrub the material.

    How to Clean White Shoes Without Turning Them Yellow

    Yellowing can happen for several reasons, including oxidation, residue, UV exposure, and improper cleaning or drying.

    One of the most important things you can do is avoid excessive heat while drying your shoes.

    After cleaning:

    1. Remove excess moisture with a clean towel.
    2. Stuff the shoes loosely with paper towels if needed.
    3. Let them air dry at room temperature.
    4. Keep them away from direct heat.
    5. Make sure cleaning residue has been properly removed.

    If your shoes are already yellow, don’t immediately assume that a stronger chemical will solve the problem. The safest treatment depends on the material and the cause of the discoloration.

    Can You Put White Shoes in the Washing Machine?

    Sometimes, but not every pair of shoes should go in a washing machine.

    The manufacturer’s care instructions should always come first.

    Canvas or synthetic shoes may sometimes be machine washable, while leather and suede generally require different care.

    If your shoes are labeled as machine washable, follow the manufacturer’s instructions carefully and use an appropriate gentle cycle.

    When in doubt, hand cleaning is usually the safer option.

    Common Mistakes to Avoid

    Using Too Much Water

    Soaking shoes can cause problems, particularly with leather, suede, adhesives, and some synthetic materials.

    Scrubbing Too Hard

    More pressure doesn’t necessarily mean cleaner shoes. Aggressive scrubbing can damage fibers, finishes, and delicate materials.

    Using Harsh Chemicals

    Bleach and other strong chemicals can damage materials or cause unwanted discoloration. Don’t assume that a stronger product will produce a better result.

    Drying Shoes With Direct Heat

    Radiators, hair dryers, and other intense heat sources can damage certain materials and adhesives.

    Treating Every Material the Same

    This is one of the biggest mistakes you can make.

    The method that works well for canvas isn’t automatically suitable for leather or suede.

    Skipping the Care Label

    If the manufacturer provides cleaning instructions, check them before trying a new method.

    How to Keep White Shoes Clean Longer

    Cleaning your shoes regularly is easier than waiting until dirt has built up for months.

    Here are some simple habits that can help:

    • Wipe away stains as soon as you notice them.
    • Brush off loose dirt after wearing your shoes outdoors.
    • Store shoes somewhere clean and dry.
    • Don’t leave damp shoes in a closed bag.
    • Clean the soles regularly.
    • Follow the manufacturer’s care instructions.
    • Use a suitable protective product if recommended for your shoe material.

    A quick five-minute clean can often prevent a much bigger cleaning job later.

    How Often Should You Clean White Shoes?

    There’s no single schedule that works for everyone.

    If you wear your white shoes frequently, check them regularly and clean visible dirt before it becomes difficult to remove.

    Shoes used outdoors or in muddy conditions may need cleaning more often than shoes worn occasionally.

    Instead of waiting for your shoes to become heavily stained, spot-clean them whenever necessary and give them a deeper clean when they start looking noticeably dirty.

    Frequently Asked Questions

    What is the best way to clean white shoes?

    For many canvas, synthetic, and mesh shoes, a mild soap-and-water solution with a soft brush or microfiber cloth is a good starting point. However, the best method depends on the shoe’s material.

    Can I use baking soda to clean white shoes?

    Baking soda can be useful for some fabric shoes and certain surface stains. However, it isn’t appropriate for every material. Always check the manufacturer’s instructions and test a small area first.

    Can I use bleach on white shoes?

    It’s best not to use bleach unless the shoe manufacturer specifically recommends it. Strong chemicals can damage materials, adhesives, or finishes and may cause discoloration.

    How do I clean white shoes without damaging them?

    Identify the material first, use the mildest effective cleaning method, avoid excessive water and scrubbing, and allow the shoes to air dry naturally.

    How do I clean white shoes that have turned yellow?

    First identify why they’re yellow and what material the shoes are made from. Avoid immediately using harsh chemicals. Gentle cleaning and proper drying are safer starting points.

    Can I wash white shoes in the washing machine?

    Some shoes can be machine washed, but others cannot. Always check the manufacturer’s care instructions first. Leather and suede generally require specialized cleaning methods.

    Final Thoughts

    Learning how to clean white shoes doesn’t have to be complicated.

    The key is to start gently, identify the material, and use the right cleaning method for that material. Regular cleaning can also prevent dirt and stains from becoming much harder to remove.

    Whether you’re cleaning canvas sneakers, leather shoes, mesh trainers, or suede footwear, taking a few extra minutes to use the correct method can help keep your white shoes looking their best for longer.

    If you found this guide useful, check out our other cleaning guides at Cleanafe for more practical ways to keep your home and everyday items clean and organized.

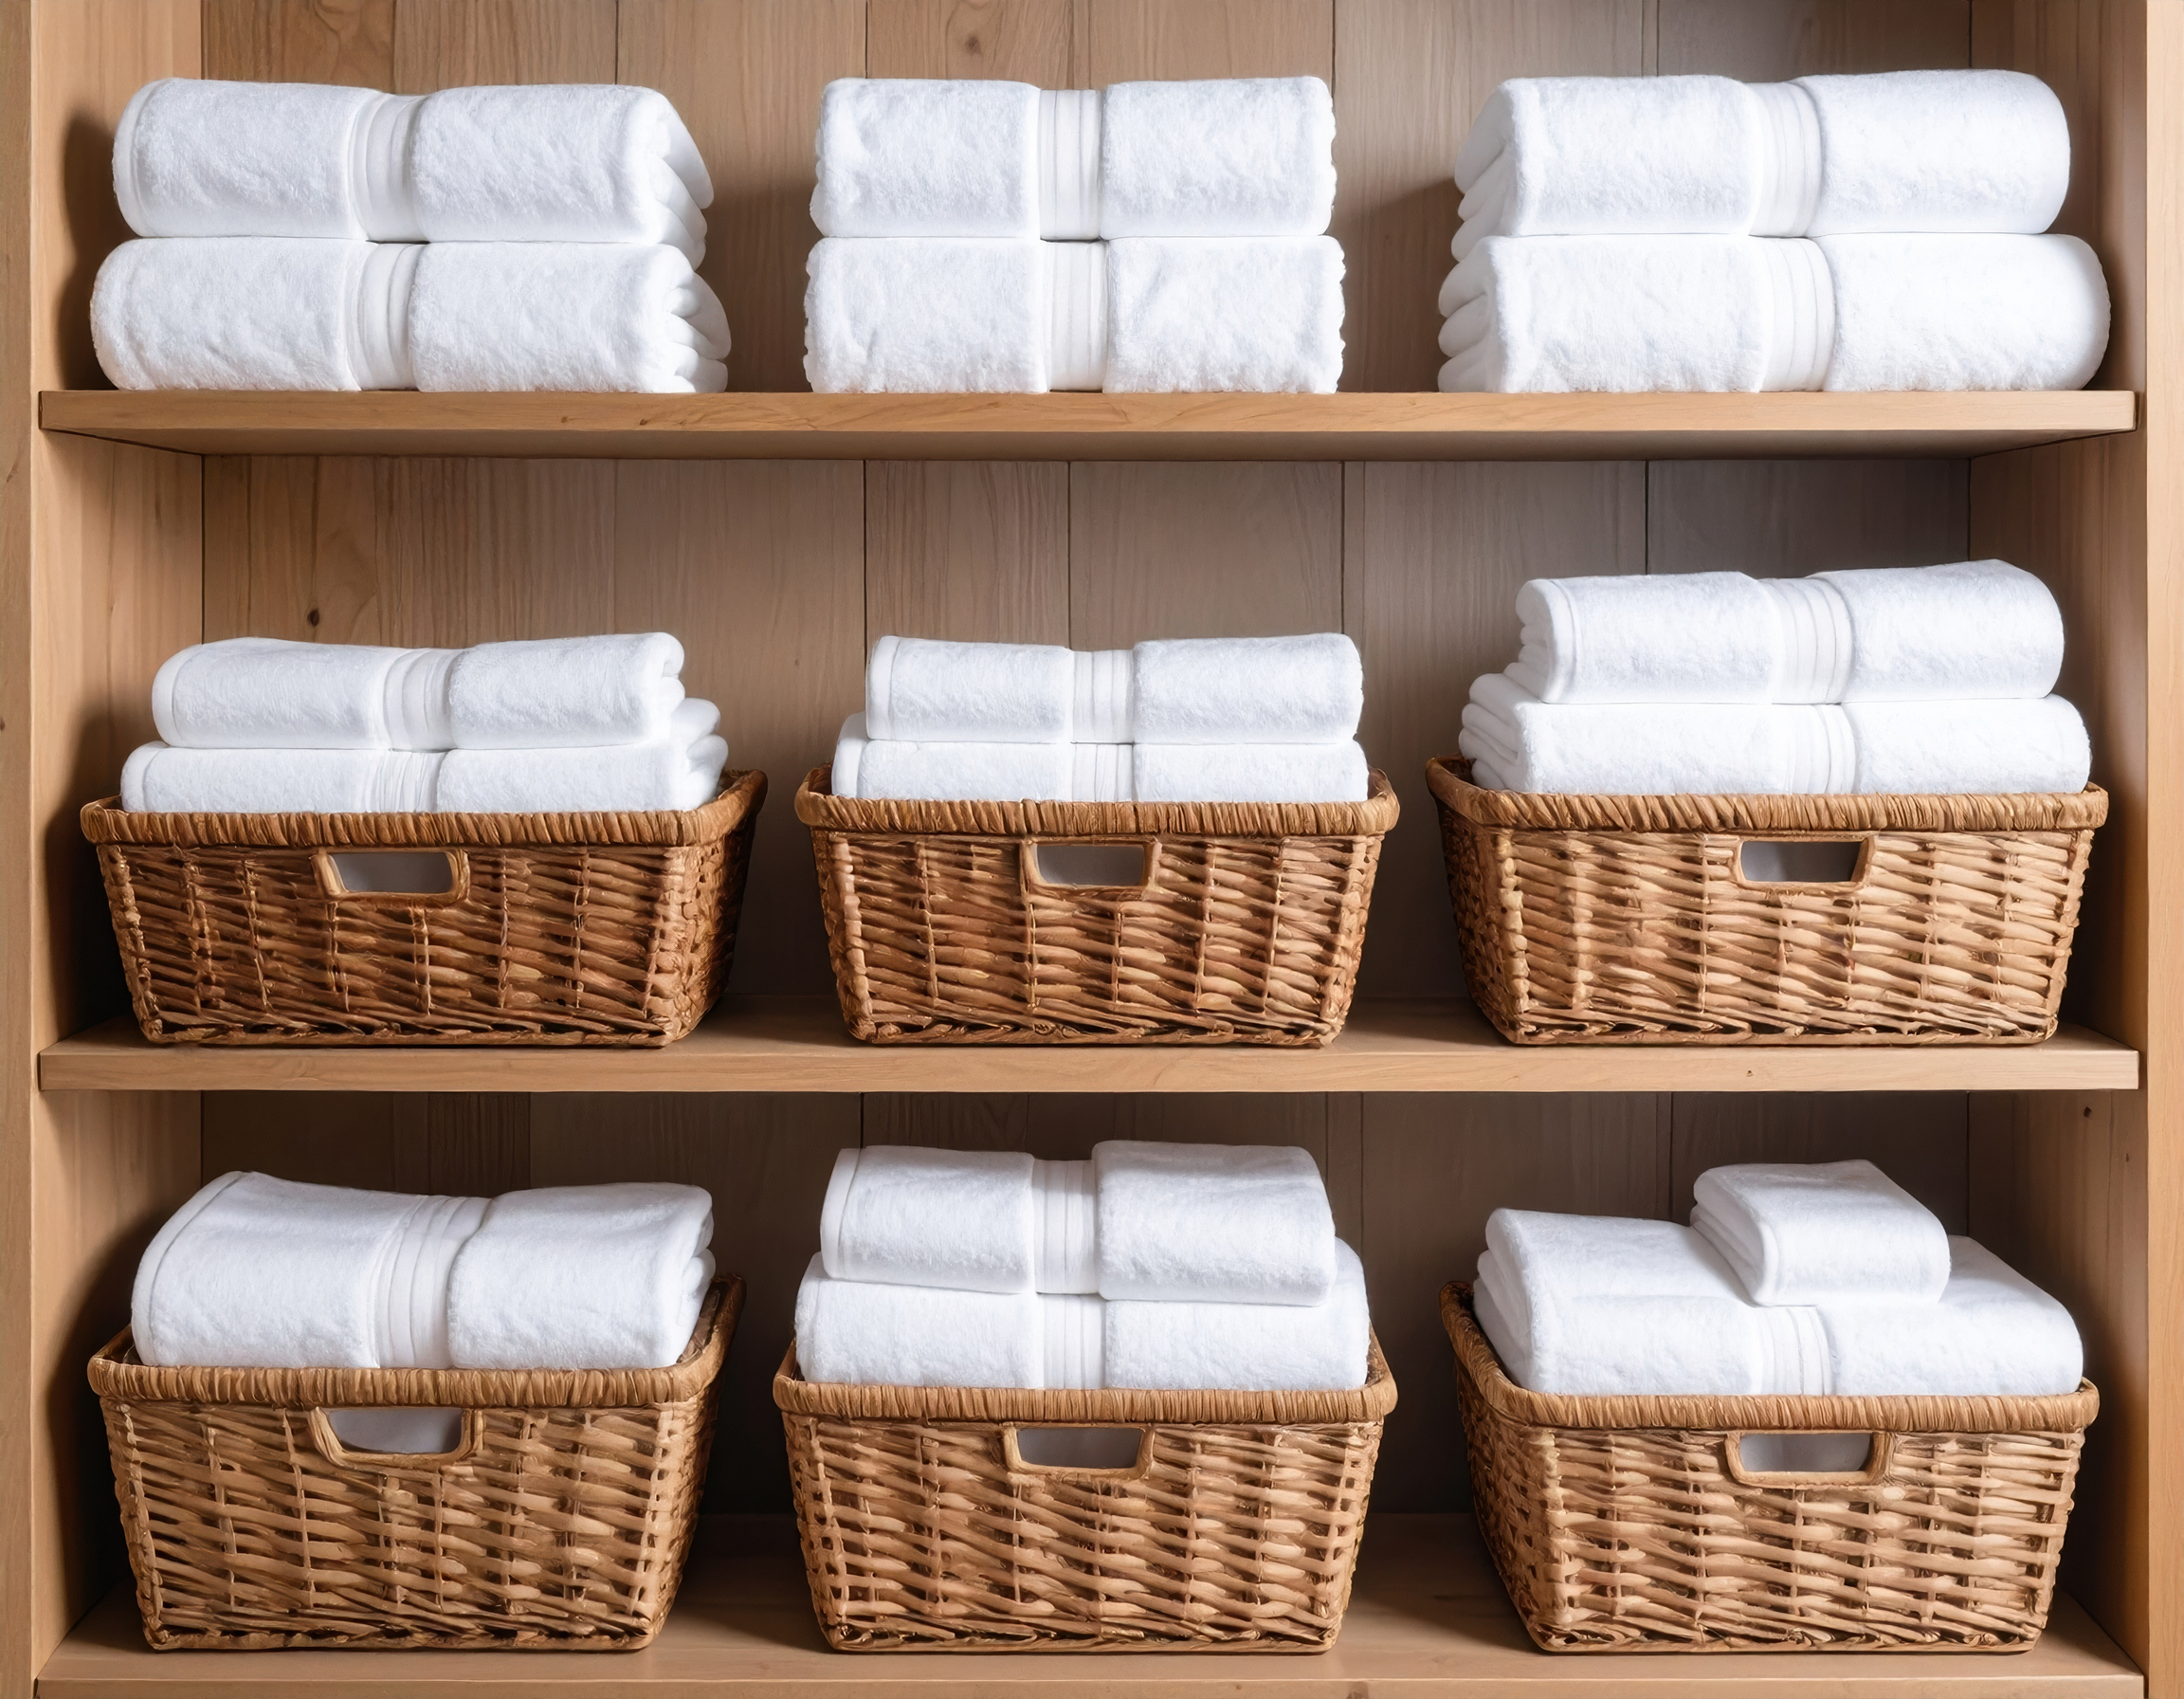
  • How to Get Rid of Musty Towel Smell—and Keep It From Coming Back

    How to Get Rid of Musty Towel Smell—and Keep It From Coming Back

    Nothing is worse than washing a towel, drying it, and then catching that unmistakable musty smell the next time it gets wet.

    If your towels smell sour, damp, or musty even after washing, throwing more detergent or fragrance at the problem usually isn’t the answer. The odor often comes from a combination of trapped moisture, body oils, detergent or fabric-softener residue, poor drying, or buildup inside the washing machine.

    The good news is that most musty towels can be refreshed without replacing them.

    We’re also preparing a Cleanafe Lab test comparing different approaches to persistent towel odor.

    Here’s how to get rid of musty towel smell and, more importantly, stop it from coming back.

    Quick Answer: How Do You Get Rid of Musty Towel Smell?

    Start by washing the towels according to their care label using the hottest suitable cycle and the correct amount of detergent. Avoid fabric softener, don’t overload the machine, and dry the towels completely as soon as the wash ends.

    If the smell remains, use an oxygen-based laundry booster according to its label and the towel manufacturer’s care instructions. For persistent odor, inspect and clean the washing machine as well—the machine itself can be contributing to the problem.

    The goal isn’t to make the towel smell strongly of fragrance. It’s to remove the residue and moisture conditions that allow the odor to return.

    Why Do Towels Smell Musty?

    Towels are especially prone to lingering odors because they absorb a large amount of water and come into contact with sweat, body oils, skin debris and soap residue. The same moisture and odor problems can also affect other absorbent household materials, including mattresses. Learn more in our guide on [how to clean a mattress].

    Several problems can combine to create that familiar musty smell.

    1. The towel stays damp for too long

    This is one of the most common causes.

    A towel left crumpled on the floor, bunched up on a hook, or sitting wet in a hamper dries slowly. Warm, damp conditions make it much easier for unpleasant odors to develop.

    Even a towel that looks dry on the outside can retain moisture in its thicker fibers.

    2. Too much detergent

    More detergent does not automatically mean cleaner towels.

    Using more than the manufacturer’s recommended amount can leave residue behind, particularly when the load is overloaded or the machine does not rinse effectively.

    That residue can trap oils, moisture and odors in the fabric.

    3. Fabric softener buildup

    Fabric softener can make towels feel pleasant initially, but regular use can reduce absorbency and leave residues on the fibers.

    If your towels have become less absorbent, feel coated, or develop odors quickly after getting wet, removing fabric softener from your routine is worth testing.

    4. Your washing machine may be part of the problem

    If several loads of laundry smell strange—not just your towels—the washer deserves attention.

    Moisture and residue can accumulate around areas such as door seals, detergent compartments and other parts of the machine, depending on the washer design.

    Cleaning the machine according to the manufacturer’s instructions can be just as important as washing the towels themselves.

    5. The towels aren’t drying completely

    Washing solves only half the problem.

    If towels go into a crowded hamper while still damp, sit in the washer for hours after the cycle ends, or dry slowly in a poorly ventilated bathroom, the musty smell can return.

    How to Get Rid of Musty Towel Smell

    Follow these steps in order rather than immediately adding stronger and stronger cleaning products.

    Step 1: Check the care label

    Before changing the wash temperature or using any laundry additive, check the towel’s care label.

    Different fabrics, dyes and finishes have different limits. Use the hottest water and dryer setting permitted for that towel rather than assuming hotter is always better.

    Step 2: Don’t overload the washing machine

    Towels need enough room to move through the wash and rinse properly.

    An overloaded drum can make it harder for water and detergent to circulate through thick fabrics.

    Wash towels in a reasonably sized load and avoid cramming the drum completely full.

    Step 3: Wash with the correct amount of detergent

    Use the amount recommended by the detergent manufacturer for your load size and water conditions.

    Using significantly more detergent is not a shortcut to cleaner towels.

    If you suspect detergent buildup, an additional rinse can help remove remaining residue.

    Step 4: Skip fabric softener

    For towels with persistent odor, temporarily stop using fabric softener.

    This also makes it easier to determine whether residue is part of the problem.

    You can always reassess your routine once the towels are clean and fresh again.

    Step 5: Use an oxygen-based booster for stubborn odors

    If normal laundering isn’t enough, an oxygen-based laundry product can be useful for suitable towels.

    Always check the product label and towel care instructions before use. Colorfastness and fabric compatibility matter, and not every towel should be treated the same way.

    Use the product exactly as directed rather than creating a stronger mixture yourself.

    Step 6: Dry the towels immediately and completely

    This step is easy to underestimate.

    As soon as the wash finishes, remove the towels and dry them thoroughly.

    For air-drying, spread towels out so air can move around them instead of folding or bunching them together. Good airflow matters.

    For machine drying, follow the towel’s care label and make sure the towel is fully dry before putting it away.

    Never store a towel while it is still damp.

    ProblemWhat to do
    Mild odorNormal wash + thorough drying
    Persistent odorOxygen-based laundry booster, if compatible
    Smell returns when wetCheck drying and residue
    Entire load smellsClean and inspect the washer
    Towel remains musty after repeated proper washingConsider replacing it

    Should You Use Vinegar to Remove Musty Towel Smell?

    White vinegar is one of the most popular DIY suggestions for musty laundry, and it may help with some types of residue or mineral buildup.

    However, vinegar should not be presented as a substitute for a proper disinfectant, and it should never be mixed with chlorine bleach or other incompatible cleaning chemicals.

    If you choose to use vinegar in laundry, follow the towel and washing-machine manufacturer’s guidance and use it separately from chlorine bleach.

    The important point is that vinegar is not a magic solution. If the real problem is poor drying, detergent buildup, an overloaded washer or a dirty machine, adding vinegar without fixing those issues will not solve the underlying problem.

    Does Baking Soda Get Rid of Musty Towel Smell?

    Baking soda is another popular home laundry remedy because it can help with odors and is commonly used as a laundry additive.

    But it should not be treated as a guaranteed cure for persistent mildew-like odors.

    If you’re dealing with seriously musty towels, concentrate first on:

    • proper washing;
    • avoiding excess detergent;
    • avoiding fabric softener;
    • thorough rinsing;
    • complete drying;
    • and cleaning the washing machine when necessary.

    Those changes address the conditions that allow odors to keep returning.

    Why Do My Towels Smell After Washing?

    If a to

    When does it smell?Most likely area to investigate
    Immediately after washingWasher, detergent, rinse
    After dryingIncomplete drying or residue
    Only when wet againResidue + moisture
    Several towels smellWashing machine/load
    Only one old towel smellsTowel condition

    What If the Musty Smell Keeps Coming Back?

    Recurring odor usually means the cause hasn’t been fixed.

    Work through this checklist:

    Your towels

    Are they being washed thoroughly?

    Are you using too much detergent?

    Are you using fabric softener?

    Are they completely dry before storage?

    Your washing machine

    Does the machine itself smell?

    Is the detergent drawer dirty?

    Does the door seal or another accessible area have visible residue?

    Are you following the machine manufacturer’s cleaning and maintenance instructions?

    Your bathroom

    Does the room stay humid for long periods?

    Are towels hanging bunched together?

    Is there enough ventilation?

    A towel cannot stay fresh if it repeatedly goes from shower → damp bathroom → slow drying → damp storage.

    How to Prevent Towels From Smelling Musty

    Once you’ve removed the existing odor, prevention is much easier.

    Hang towels properly after use

    Don’t leave a wet towel in a heap.

    Spread it out so more of the surface is exposed to air.

    Don’t leave wet towels in the washing machine

    Move them to the drying stage as soon as possible after the cycle ends.

    Give towels enough room to dry

    The faster a towel dries, the less time it spends damp.

    Improve bathroom ventilation and avoid piling multiple wet towels on top of one another.

    Wash towels separately when appropriate

    Towels can produce a lot of lint and absorb significant amounts of water. Washing them in a suitable load can make it easier for the machine to clean and rinse them properly.

    Don’t overdo detergent

    Follow the product instructions instead of assuming more product means better cleaning.

    Consider using less or no fabric softener

    If odor and absorbency are ongoing problems, removing fabric softener from your routine is an easy experiment.

    Clean the washing machine regularly

    Follow the cleaning procedure recommended by your washer manufacturer.

    If the machine smells bad, fixing the towels without fixing the machine may only provide a temporary result.

    How Often Should You Wash Bath Towels?

    There isn’t a single perfect schedule for every household.

    How quickly a towel becomes dirty depends on how often it is used, how completely it dries between uses, the bathroom environment, and personal circumstances.

    The important rule is simple: if a towel stays damp, smells bad, or isn’t drying properly between uses, don’t keep using it indefinitely just because it technically looks clean.

    When Should You Replace a Towel?

    Not every musty towel needs to be thrown away.

    Try correcting the washing and drying routine first.

    However, if a towel remains persistently unpleasant despite proper laundering and complete drying—or if the fabric is badly worn, damaged or no longer dries effectively—it may simply be time to replace it.

    Final Thoughts

    Musty towels usually aren’t asking for more perfume. They’re asking for better laundry habits.

    Wash them correctly, avoid unnecessary residue, dry them completely, and don’t ignore a washing machine that smells just as bad as the laundry coming out of it.

    And remember: there is no truly “permanent” towel deodorizing trick. If a towel repeatedly stays damp, the smell can return.

    Fix the moisture and residue problem, and your towels will stay fresh for much longer.

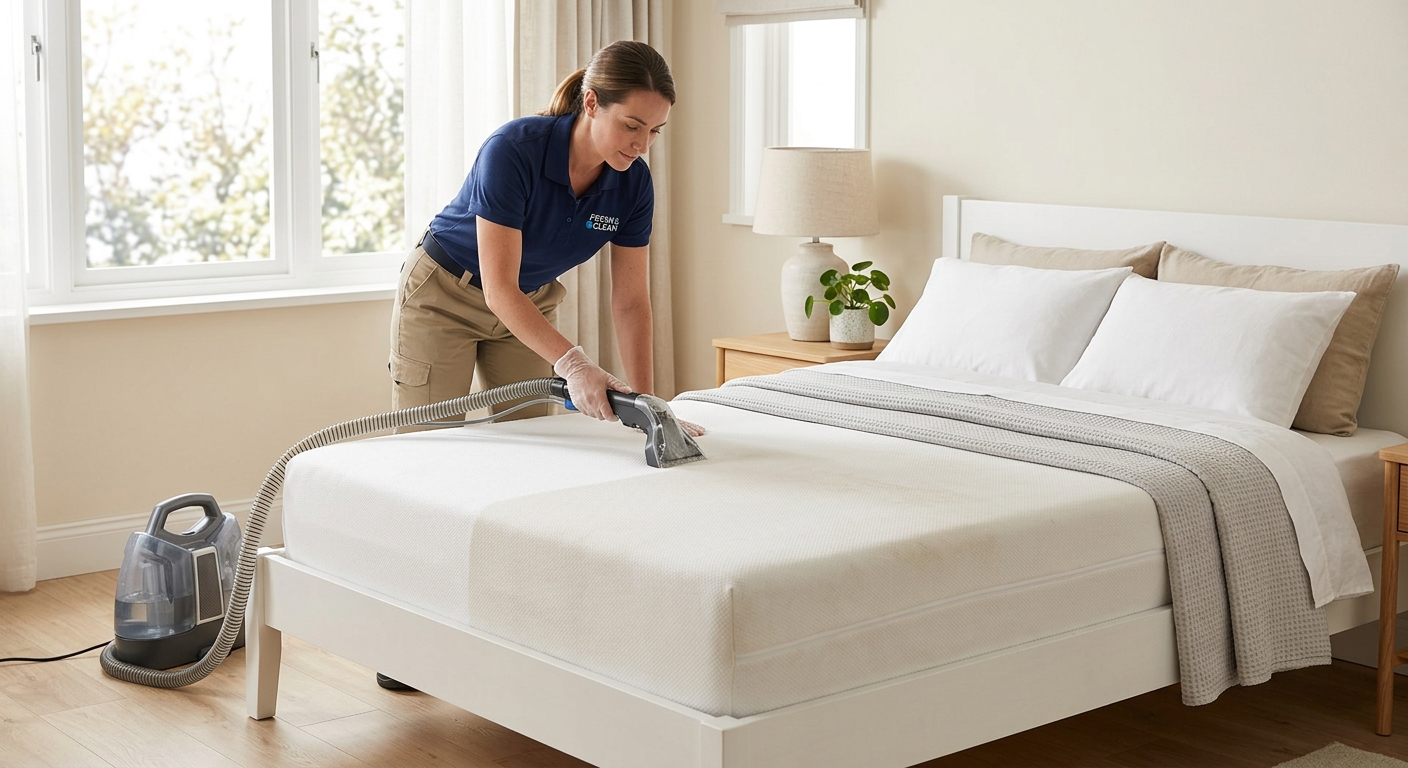
  • How to Clean a Mattress: A Step-by-Step Guide

    How to Clean a Mattress: A Step-by-Step Guide

    A clean mattress can make your bedroom feel fresher and more comfortable. Over time, mattresses can collect dust, sweat, skin cells, and everyday odors, even when they are protected by sheets.

    The good news is that you don’t need expensive equipment to give your mattress a thorough refresh. With a few simple supplies and the right approach, you can clean your mattress at home while avoiding unnecessary moisture that could damage it.

    In this guide, we’ll walk you through a simple, step-by-step method for cleaning your mattress, dealing with common stains, and keeping it fresh for longer.

    What You’ll Need

    • A vacuum cleaner with an upholstery attachment
    • Baking soda
    • Mild dish soap
    • Clean, white cloths
    • A small bowl
    • Cold or lukewarm water

    1. Strip the Bed

    Start by removing all sheets, blankets, pillowcases, and mattress protectors from the bed. Wash your bedding according to the care labels and leave the mattress uncovered while you clean it.

    Before using any cleaning solution, check the mattress manufacturer’s care instructions. Different materials can have different cleaning requirements, and some mattresses should not be exposed to excessive moisture.

    2. Vacuum the Mattress

    Use a vacuum cleaner with an upholstery attachment to slowly clean the entire surface of the mattress. Pay special attention to the seams, edges, and areas where dust and debris can collect.

    Move the attachment in overlapping passes rather than rushing across the surface. If your mattress is double-sided and the manufacturer allows it, vacuum the other side as well.

    3. Spot-Clean Stains

    If you notice stains, treat them individually rather than soaking the entire mattress. Start by checking the manufacturer’s cleaning instructions.

    For a simple cleaning solution, mix a small amount of mild dish soap with cold or lukewarm water. Dampen a clean white cloth with the solution and gently blot the stained area. Avoid rubbing aggressively, and use as little moisture as possible.

    Afterward, use another clean, slightly damp cloth to remove any soap residue. Allow the area to dry completely before putting the bedding back on.

    4. Deodorize With Baking Soda

    Once the mattress is vacuumed and any stains have been treated, sprinkle a thin, even layer of baking soda over the surface. Baking soda can help absorb moisture and reduce everyday odors.

    Leave it on the mattress for several hours, or longer if convenient. Then vacuum the entire surface thoroughly to remove the baking soda.

    Keep the amount moderate and make sure the mattress is completely dry before covering it again.

    5. Let the Mattress Dry Completely

    Before making the bed, make sure the mattress is completely dry. Good airflow can help speed up the drying process, so leave the mattress uncovered and open a window if conditions allow.

    Avoid covering the mattress while it is still damp. Trapped moisture can create an environment where unwanted odors and mold may develop.

    If you used any liquid during spot cleaning, give those areas extra time to dry before replacing your sheets and mattress protector.

    How to Clean Different Types of Stains

    Sweat Stains

    Sweat can leave yellowish or darker marks on a mattress over time. Start by vacuuming the area and then gently blot the stain with a small amount of mild soap solution and a clean cloth. Avoid soaking the mattress, and let the area dry completely afterward.

    Food and Drink Stains

    For food or drink spills, act as soon as possible. Gently blot the area with a clean cloth to absorb as much liquid as you can without rubbing it deeper into the fabric.

    Once the excess moisture has been removed, use a small amount of mild soap solution if the manufacturer’s care instructions allow it. Finish by blotting with a clean, slightly damp cloth and allow the mattress to dry completely.

    Other Common Stains

    For other stains, avoid using strong chemicals unless the mattress manufacturer specifically recommends them. Start with the gentlest cleaning method that is compatible with your mattress.

    If a stain is persistent or you are unsure which cleaning method is safe, check the manufacturer’s instructions or consider professional cleaning rather than experimenting with harsh products.

    How Often Should You Clean Your Mattress?

    A quick mattress refresh can be done every few months, while a deeper cleaning may be needed when you notice visible stains, persistent odors, or a buildup of dust.

    Your routine can also depend on your sleeping environment and whether you use a mattress protector. A washable mattress protector can help keep everyday dirt and moisture from reaching the mattress itself.

    Rather than following a strict schedule, check your mattress regularly and clean it whenever it needs attention.

    How to Keep Your Mattress Clean

    • Use a washable mattress protector.
    • Wash your sheets and bedding regularly according to their care labels.
    • Vacuum the mattress when you change your bedding or notice dust buildup.
    • Deal with spills and stains as soon as possible.
    • Keep the mattress dry and allow good airflow around the bed.

    A few simple habits can make mattress cleaning much easier. Regularly washing your bedding and using a mattress protector can help reduce the amount of dirt and moisture that reaches the mattress.

    Frequently Asked Questions

    Can I use water to clean a mattress?

    You can use a small amount of water for spot cleaning if your mattress manufacturer’s care instructions allow it. Avoid soaking the mattress, as excess moisture can be difficult to remove and may cause problems if it remains trapped inside.

    Can I vacuum my mattress?

    Yes. Vacuuming is one of the simplest ways to remove dust, debris, and other particles from the surface of a mattress. Use an upholstery attachment and follow the manufacturer’s care instructions.

    How long should baking soda stay on a mattress?

    For a basic refresh, leave baking soda on the mattress for several hours before vacuuming it thoroughly. Make sure the mattress stays dry and follow the manufacturer’s care instructions.

    How can I keep my mattress from smelling?

    Regularly washing your bedding, using a mattress protector, vacuuming the mattress, and keeping the sleeping area well ventilated can help reduce everyday odors. If an unusual smell persists, check the manufacturer’s recommendations before trying additional cleaning products.

    Final Thoughts

    Cleaning your mattress does not have to be complicated. Regular vacuuming, careful spot cleaning, and good airflow can help keep it fresher and more comfortable over time.

    The most important thing is to avoid excessive moisture and always check your mattress manufacturer’s care instructions before using a cleaning solution.

    With a few simple habits and regular maintenance, you can keep your mattress in better condition for longer.